
How to Sew a Button: A Quiet Guide to Doing It Right
Learn how to sew a button the right way with this step-by-step guide. Practical techniques that keep your favorite shirt or jeans going for years.
How to Sew a Button: A Quiet Guide to Doing It Right
I've taken apart more shirts and jeans than I can count. Most of them didn't fail because the fabric wore out. They failed because a button popped off and nobody bothered to sew it back on right. Knowing how to sew a button is one of those small skills that keeps good clothes alive. It takes ten minutes, costs nothing, and saves you from tossing a perfectly good garment. Let me show you how to do it so it stays.
Why Sewing a Button Matters
A button that's sewn on with a thread shank (that little loop of thread between button and fabric) won't pull tight against the placket. It won't strain the fabric or pop off under tension. Most commercial shirts use a machine to sew buttons, and while they're fast, they often skip the shank. Hand-sewing gives you control. You can match the thread color to the button, use the right thickness of thread, and make sure the button sits just right. That's the difference between a shirt that lasts five years and one that loses a button in three washes.

What You Need
Before you start, gather these: a needle fine enough to pass through the button holes (a hand-sewing needle between size 5 and 9 works for most shirt buttons), thread that matches the button or the fabric (polyester or cotton-wrapped polyester is fine), a button (obviously), and a small spacer like a toothpick or a pin. The spacer is what creates the shank. Don't skip it.
Step 1: Thread the Needle and Knot the End
Cut about 24 inches of thread. Double it by passing both ends through the needle eye, then pull until the doubled thread is even. This gives you four strands of thread when you sew — strong enough for any button. Tie a small knot at the cut end by wrapping the thread around your finger and rolling it off. Trim the tail close to the knot.
Step 2: Anchor the Thread
Push the needle from the wrong side of the fabric up through the button's position. Pull until the knot catches on the fabric. Take a tiny stitch right next to the hole (about 1/16 inch) and pull through. This anchors the thread so the button will pull against the fabric evenly.
Step 3: Position the Button and the Spacer
Place the button over the anchor stitch. Slide a toothpick (or a needle or a pin) across the top of the button, between the holes. This spacer is what creates the shank. Hold it in place with your thumb.
Step 4: Sew the Button
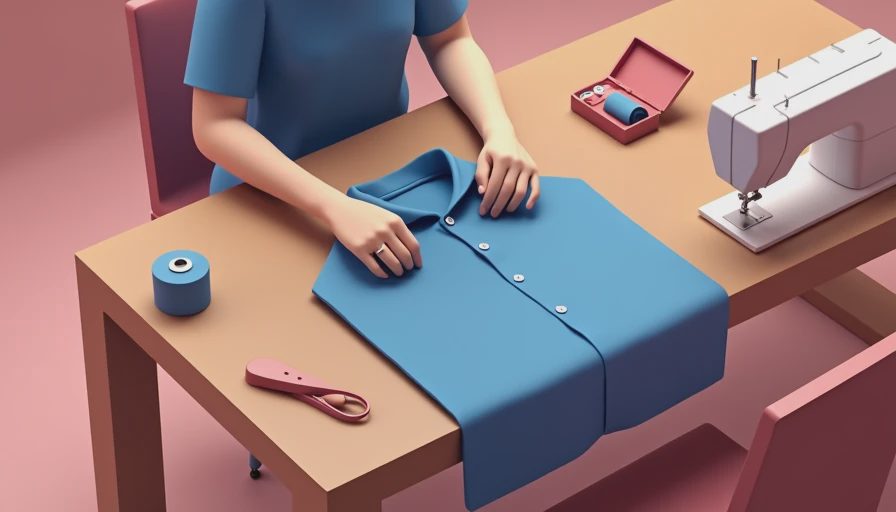
Bring the needle up through one hole, down through the opposite hole. Keep the thread passing over the spacer. Repeat this figure-eight motion six to eight times. For a four-hole button, decide on a pattern: parallel lines or an X. I prefer the X pattern because it holds better under diagonal stress. Sew through both pairs of holes in the same sequence, always over the spacer.
Step 5: Create the Shank
Remove the spacer. Pull the button up away from the fabric — you'll see a bundle of threads between the button and the cloth. That's your shank. Wrap the thread around the shank two or three times, pulling snug. This tightens the shank and prevents the button from flopping.
Step 6: Secure and Finish
Push the needle to the wrong side of the fabric. Take two small stitches on top of each other, then pass the needle through the loop created by the first stitch. Pull tight to form a knot. Repeat for a second knot. Trim the thread close to the fabric.
A Few Notes on Materials
Shirt buttons usually need a shank of about 1/8 inch. Coat or jacket buttons can use a longer shank — maybe 1/4 inch — to accommodate thicker fabric. If the button is a decorative one that won't be fastened, you can skip the shank altogether. But for anything that gets buttoned and unbuttoned regularly, the shank is what keeps it on.
Good things last. Bad things don't. Learning how to sew a button properly is a small way to make sure your clothes fall into the first category.
I used this method on a 20-year-old flannel shirt last month. That button is still holding strong. Try it on something that matters to you.
Common Mistakes to Avoid
Even when you think you know how to sew a button, a few common errors can ruin the job. One of the biggest is forgetting to use a spacer. Without a shank, the button pulls tight against the fabric, creating stress points that can tear the material over time. Another mistake is using thread that is too thick for a delicate shirt button — the thread may not pass through the buttonhole easily or can distort the fabric around it. Many beginners also knot the thread too far from the fabric surface, leaving an unsightly loop. A third issue is sewing the button with uneven tension; the button should feel firmly attached but not so tight that the fabric puckers. If you cut the thread too short after knotting, the knot can slip loose after a few washes. For heavy coats or frequently used buttons, consider using a stronger button thread or a metal shank button instead. Taking your time and checking each step will help you avoid these pitfalls. A well-sewn button lasts through dozens of wears and washes, while a rushed one often fails within a week.