
How to Sew a Leather Wallet by Hand
I took apart expensive jeans, found cheap stitching, and got tired of fashion blogs that just hype products and push links. So I started working in my Portland garage—cutting open clothes, showing what actually lasts, and sharing honest tutorials. No trends. No “link in bio.” Just a designer who sews crooked sometimes and wants you to know why some things hold up and some fall apart.
I messed up my first wallet. Twice.
First time, I sewed the pockets backward. Second time, I used thread that was too thin. It snapped before I even put a dollar in it.
That was three years ago. Now I sell wallets on Etsy. Not because I’m some master leatherworker. I just kept making mistakes until I ran out of easy ones to make.
This tutorial is for people who’ve never touched leather. You don’t need a workshop. You don’t need expensive tools. You need an afternoon, some patience, and the willingness to sew something crooked and still use it anyway.
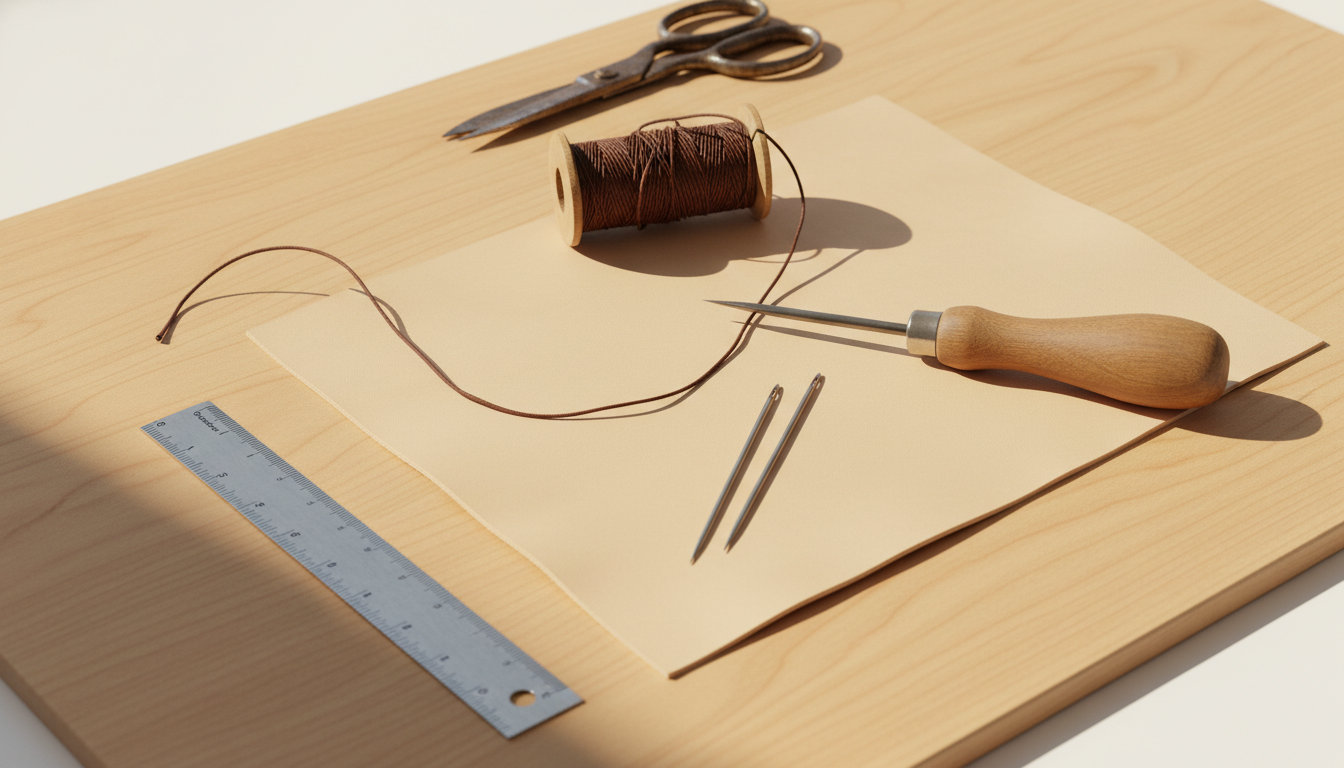
What you’ll need (no fancy stuff)
One piece of veg-tan leather. 4–5 oz weight. About the size of a sheet of paper. You can get scrap pieces cheap online or at a local shop.
Waxed thread. Polyester or linen. Not the thin cotton stuff from your grandma’s sewing kit.
Two harness needles. They’re thicker than regular needles and won’t bend.
A stitching awl or a small drill bit. Honestly? I started with a thumbtack and a lot of cursing.
A ruler. A pencil. Scissors that can cut leather (kitchen shears work if you don’t care about them after).
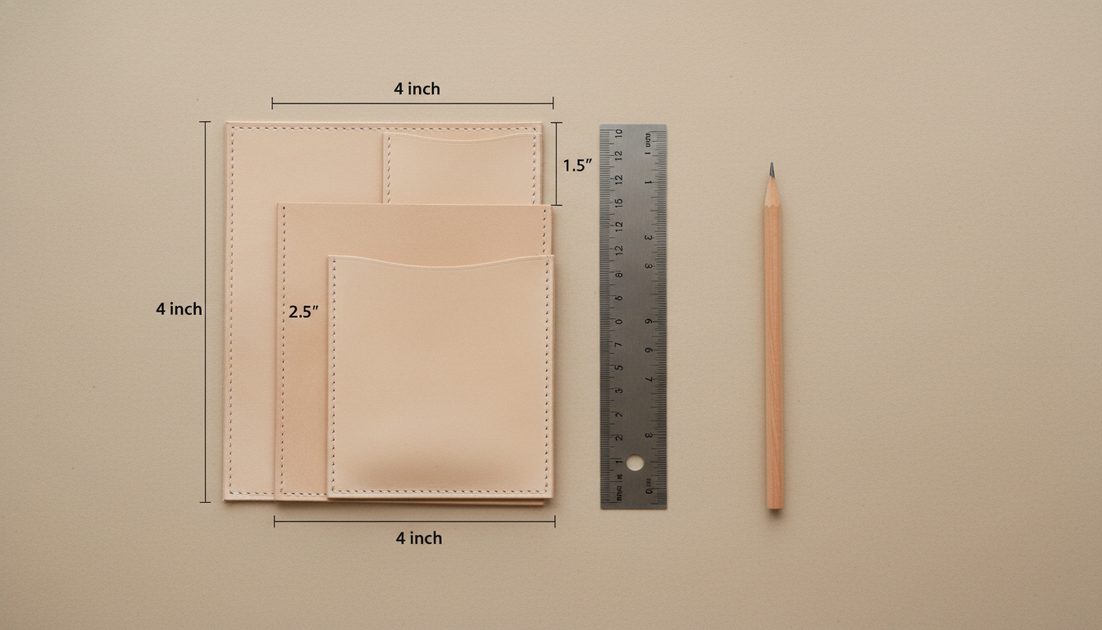
Step one: cut your pieces
You need three rectangles. Same width, different heights.
Main body: 4 inches wide, 3.5 inches tall
Middle pocket: 4 inches wide, 2.5 inches tall
Top pocket: 4 inches wide, 1.5 inches tall
My first wallet, I measured wrong. The pockets didn’t line up. Still worked. Just looked drunk. That’s fine.
Step two: mark your stitch lines
Use the ruler and pencil. Draw a line about 1/8 inch from the edge. That’s your road. Don’t wander off it.
I still wander off. You just go back and do it again.
Step three: make your holes
This is where beginners panic. You don’t need a fancy stitching punch. Take your awl or thumbtack or drill bit. Push it through the leather every quarter inch along your pencil line.
Do it on all three pieces separately. Then stack them and see if the holes line up. They probably won’t. That’s okay. Redo one of them. Nobody will notice when it’s done except you.
Step four: sew
Thread both needles onto the same piece of waxed thread. About four times the length of your wallet. Too long and it tangles. Too short and you run out halfway through.
Push one needle through the first hole from the front. Pull until both sides have equal thread. Now go back through the same hole with the second needle. Pull tight. Not so tight you warp the leather. Just snug.
Repeat. Hole after hole. Slow.
I still sew holes twice because I skipped one. Just go back. Nobody’s timing you.
Step five: finish
Go back over your stitches. Look for loose ones. Pull them tighter. Tie a knot on the inside. Melt the thread ends with a lighter if you used synthetic thread. If you used linen, just tie it twice and cut it.
I’ve had knots come loose. I just retied them. It’s not a spaceship. It’s a wallet.
What you’ll end up with
Something imperfect. Something you made. Something that’ll last longer than the cheap nylon thing you bought at a mall three years ago.
Maya still carries the first wallet I sewed. The crooked one. She says it has character. I think she’s just nice.
But that wallet hasn’t fallen apart yet. That’s seven years.
Good things last. Bad things don’t.
Now go make a mess. Then show someone what you made.