
Make a Belt in the Afternoon: No Special Tools Required
You need leather, a knife, a fork, a nail, and a buckle. Cut the length. Poke holes with the fork. Add a buckle. It won't look perfect. My first belt was crooked. Lasted three years. The second one always looks better than the first.
Not kidding. The fork was for punching holes. It looked terrible. Worked fine though.
You don't need leather tools. You don't need a workshop. You just need a Saturday afternoon and patience.
I still have that first belt. The holes are uneven. The edges are rough. One side is darker than the other because I spilled coffee on it. But I wore it for two years before I made a better one.
Let me show you how to do it without buying anything fancy.
What You Actually Need
Here's the whole list. Most of it is already in your kitchen drawer.
Leather Strip
This is the only thing you buy. Go to a craft store or order online.
Weight: 9-10 ounce vegetable tanned leather
Length: About 48 inches
Width: Inch and a half
Cost: Fifteen to twenty dollars
Vegetable tanned leather is important. Other leathers stretch or crack. This one ages well. Gets darker over time. Shows scratches. That's the point.
Tools From Your House
A knife. Any sharp knife. Kitchen knife works. Box cutter works. Just be careful.
A ruler or tape measure.
A fork.
A hammer. Or a rock. I used a rock once when I couldn't find my hammer.
A nail. Any nail.
Belt buckle. One and a half inch size. Five to ten dollars.
That's it. No hole punch. No edge beveler. No stitching awl. Just stuff you already have.
Step One: Cut the Length

Wrap the leather around your waist where you want the belt to sit. Not over your jeans. On your bare waist or over a thin shirt. Add six inches. Mark it. Cut it with your knife.
What I messed up: My first cut was crooked. The belt tapered at the end. Looked weird. Still worked fine. Belts curve when you wear them anyway. Nobody sees the tail end.
Tip: Cut a little long. You can always trim more. You can't add back.
Step Two: Make the Buckle End
Fold one end of the leather back about three inches. Cut a slot in the middle of that folded part. The slot needs to fit your buckle's center pin.
How to cut the slot: Fold the leather. Mark where the pin hits. Cut two small slits and connect them. Or just stab the knife through and wiggle it. Crude works.
What I messed up: I cut my slot too small the first time. The pin wouldn't go through. Had to widen it with the knife. Then it was too loose. The buckle wiggled. You know what? The belt works fine. Nobody sees the buckle end once it's looped through.
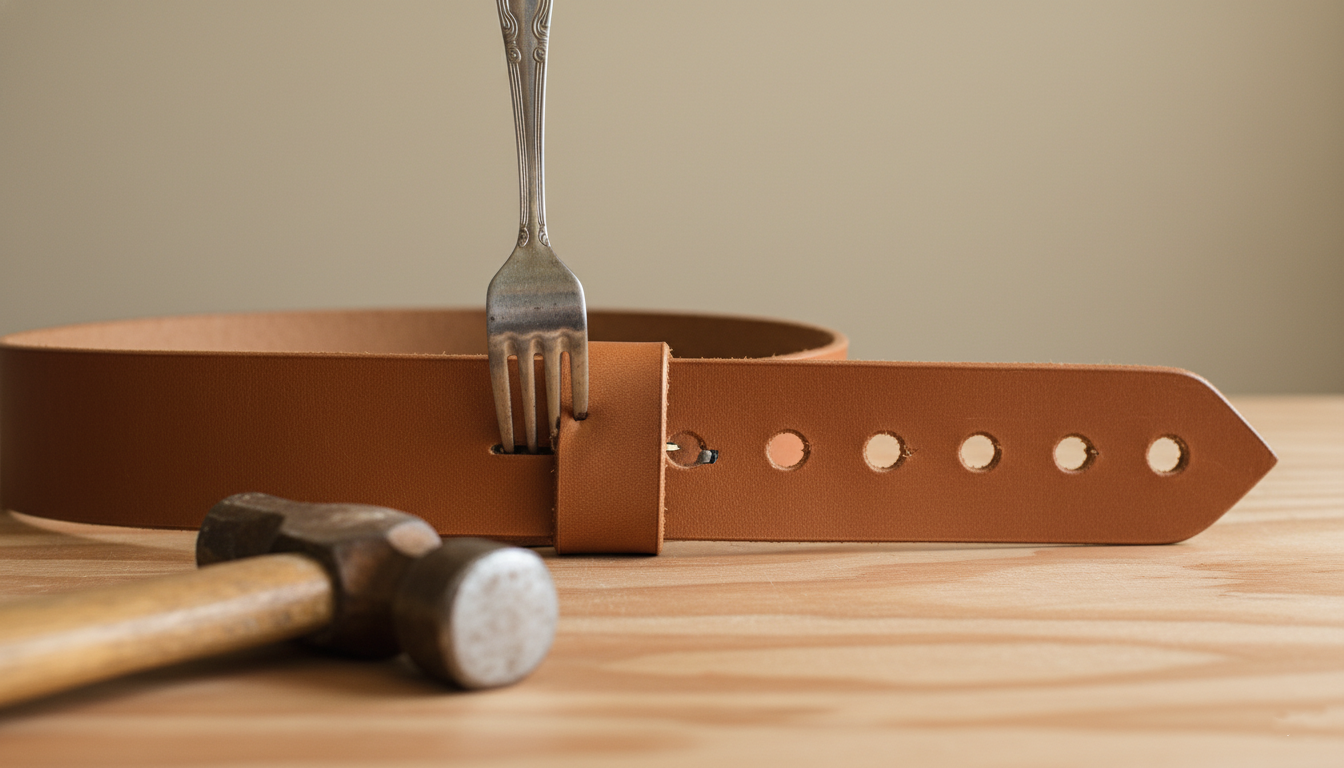
Step Three: Punch the Holes
This is where the fork comes in.
How to Do It
Take your fork. Pick the middle tine. Press it into the leather where you want the first hole. Hit it with your hammer. Not too hard. The tine will push through.
Now you have five holes close together in a star pattern. Keep the middle one. The other four close up on their own after a day or two.
Repeat every inch along where the buckle holes go.
If the Fork Doesn't Work
The leather might be too thick. Then use the nail.
Heat the nail on a gas stove for ten seconds. Push it through the leather. It melts a hole. Smells terrible. Works fine.
What I messed up: I heated the nail too long once. The hole burned wider than I wanted. The leather around it got stiff. Still wore the belt for a year.
Where to Put the Holes
Mark your first hole where the belt feels comfortable. Then mark every inch after that. Five holes total. That's enough. You don't need a hole every half inch.
Step Four: Make the Keeper Loop
The keeper is the small loop that holds the loose end of the belt.
Cut a thin strip of leftover leather. Half inch wide. Wrap it around the belt near the buckle. Mark where it overlaps. Poke holes with the fork again. Lace it shut with a thin piece of leather or heavy thread.
What I messed up: I skipped the keeper on my first belt. The loose end flopped around. Annoying. Added one two weeks later. Had to take the belt apart to do it.
Easier way: Cut a small slit near the buckle. Slide a thin strip through. Tie a knot. Not pretty. Works fine.
What Goes Wrong (And Why That's Fine)
Let me list what broke on my first belt.
The leather was too thick for my fork. Used the hot nail method. Smelled bad. Still worked.
My cuts were wobbly. Sanded the edges on the sidewalk. Rough concrete works like sandpaper.
The holes didn't line up straight. Nobody checks. Seriously. When was the last time you inspected someone's belt holes?
The keeper fell off after a month. Made a new one with thicker leather. That one lasted.
Every mistake teaches you something. My second belt took half the time. My third belt looks almost store-bought. Almost.
The Afternoon Timeline

Here's how your Saturday will actually go.
First hour: Cutting and swearing. The leather fights back.
Second hour: Poking holes and making a mess. Fork tines bend. Swear more.
Third hour: Putting it together and realizing you did something backwards. The buckle faces the wrong way. Fix it.
Fourth hour: Wearing it. Feels good even if it's ugly.
Does It Actually Last?
Mine lasted three years before the leather stretched out. That's not the belt's fault. That's just leather. It stretches where you sit and bend.
Three years for fifteen dollars in materials and one afternoon of work. That's cheap.
You'll make mistakes. The buckle end might rip. The holes might be ugly. The keeper might fall off.
Fix it. Make another one. The second belt always looks better than the first.